I love using my smoker, but sometimes the weather can put a damper on your cooking fun. If you are going to have a monsoon, you probably don’t want to use your smoker at all. If the only thing that’s stopping you is cold weather, I can show you how I overcame that problem with Reflectix insulation.
When the weather get’s really cold, it’s hard to keep the temperature up on a smoker. Especially if you have an electric one like mine. It takes everything you have just to get it warm and warm isn’t enough. Once it drops below 40 degrees or so, you have to pretty much forget it, unless you have a way to do something about the cold. Here is the solution I came up with.
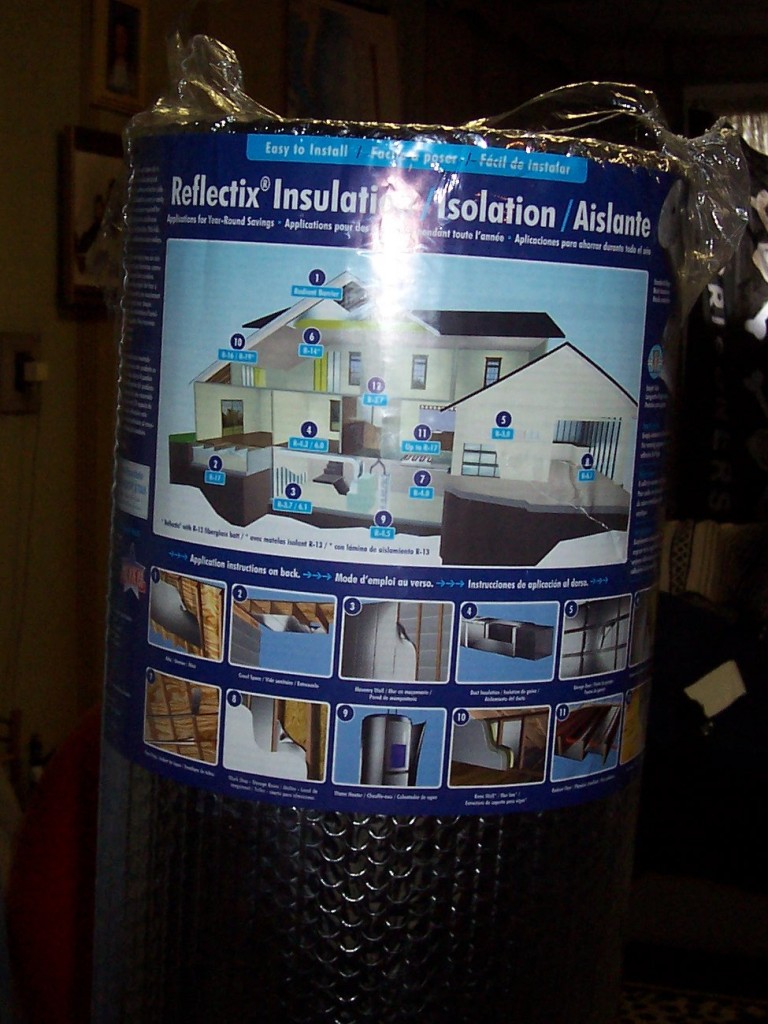
First you need some Reflectix insulation. You can find it at most home supply type stores.
I guess it depends on the size of your smoker, but I would think you are going to want to get a roll that is at least 48 inches high. You really don’t need that long of a piece. If you are looking for just enough to insulate your smoker, this one will probably do nicely. I ended up going with a bigger roll like this one
because I figured if something went wrong with my insulation cover, I could make another one, or I can also use it to insulate my attic, basement, house, etc. It’s great stuff and one of the best insulations you can get.
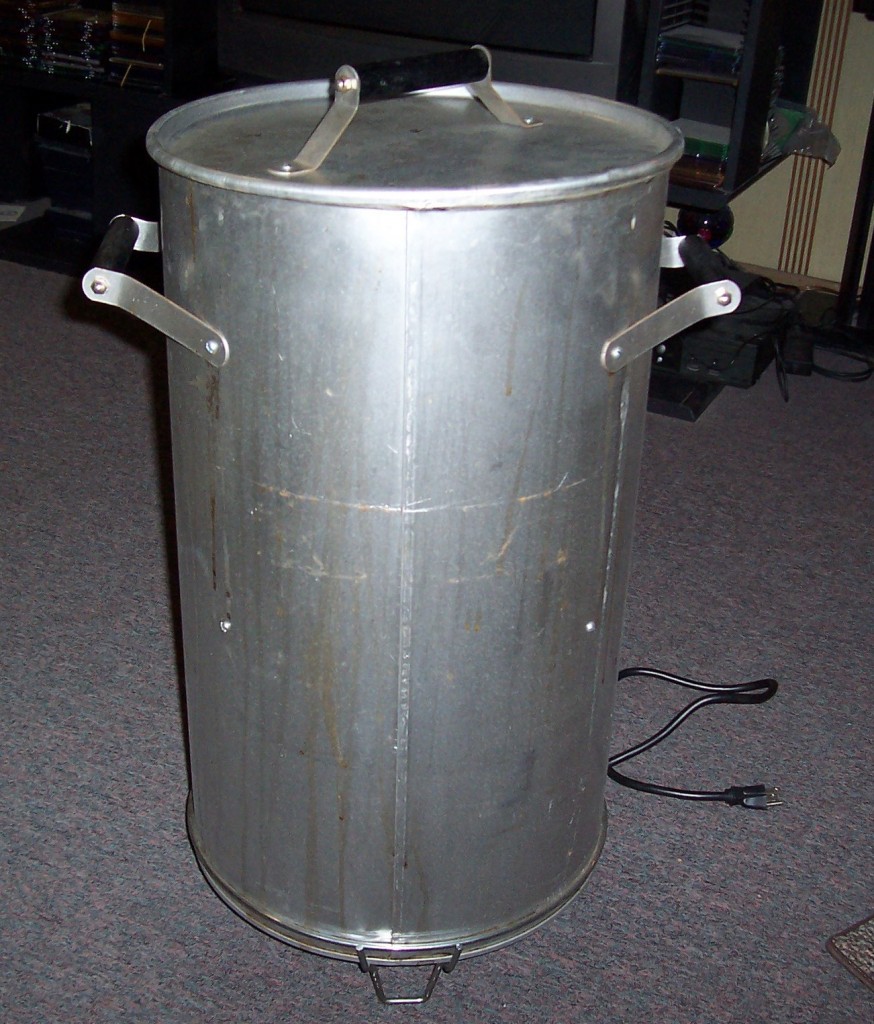
I have a sealed electric waste can type smoker that I really like.
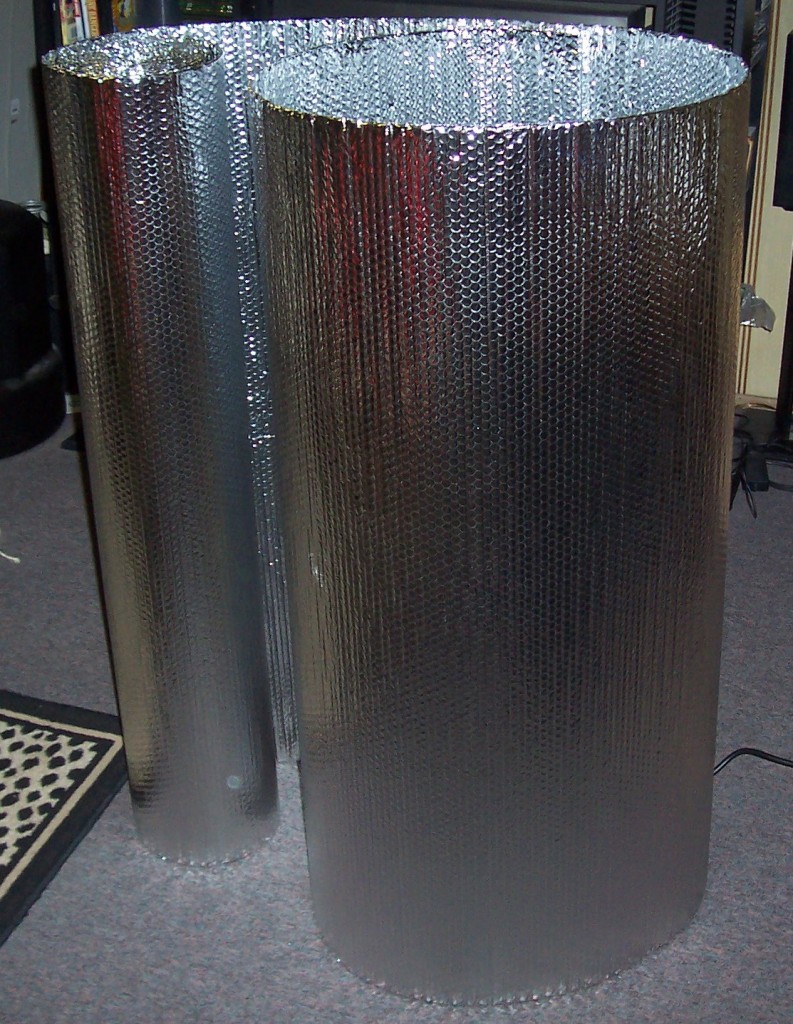
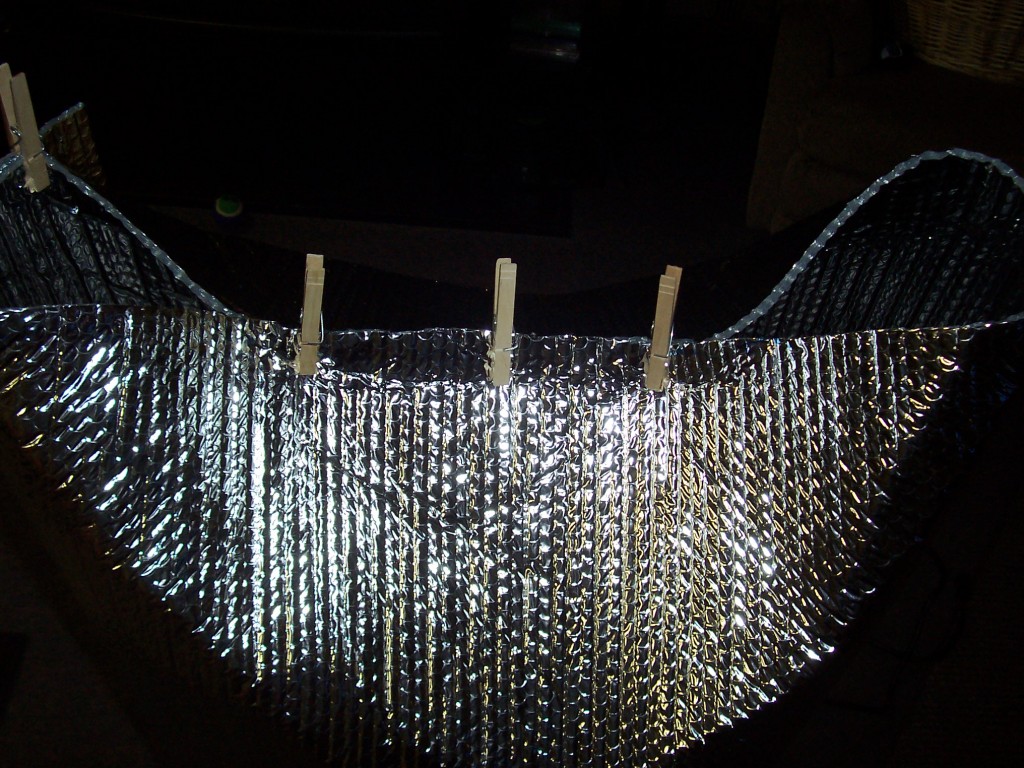
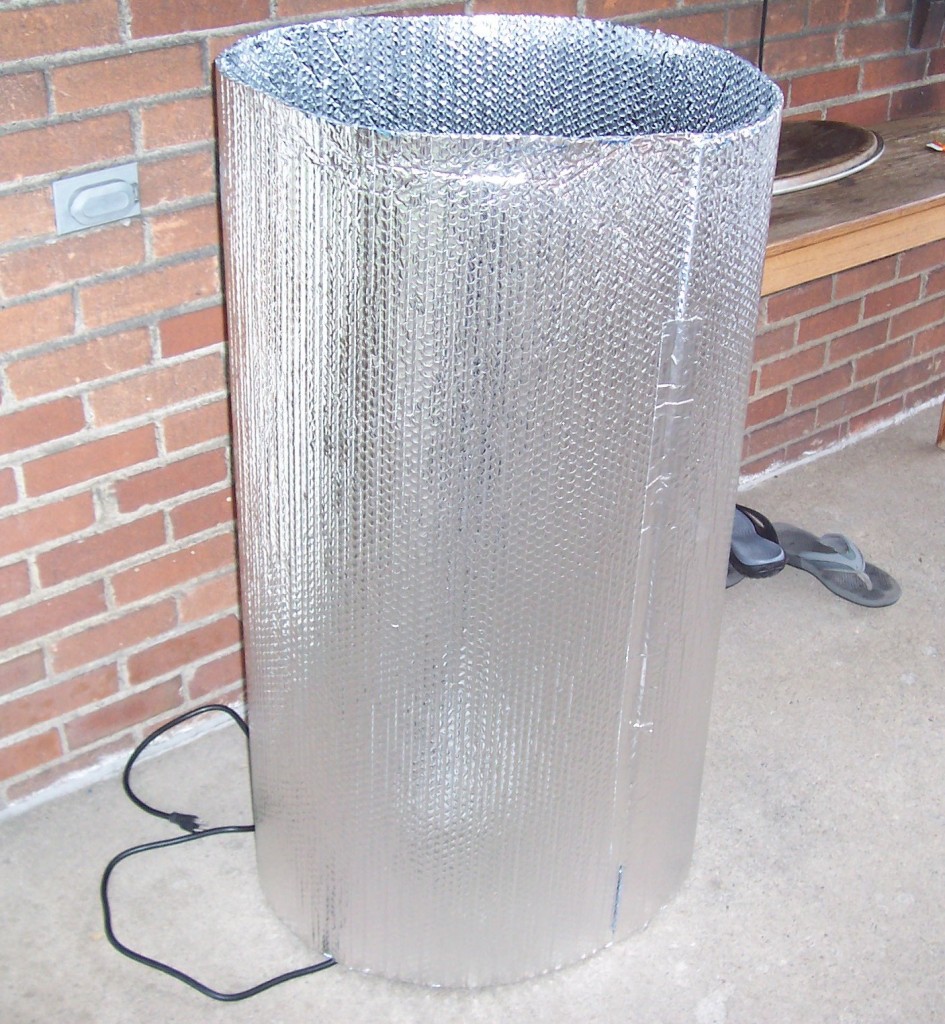
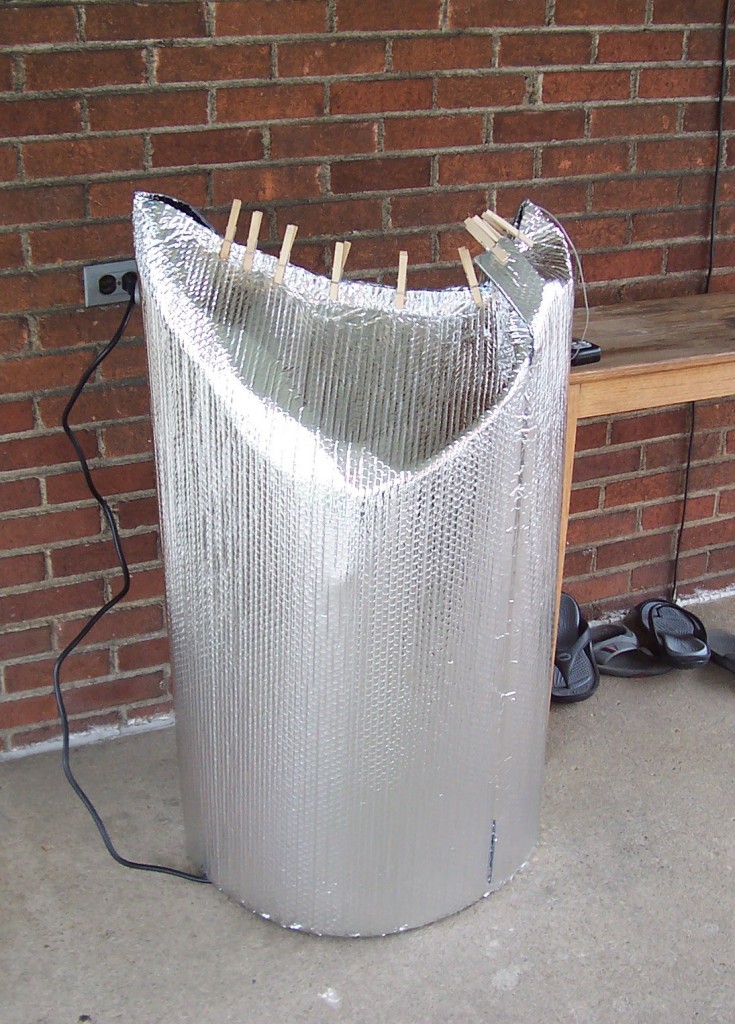
First, I stood the roll next to my smoker and slowly wrapped a sheet around it. I was more or less judging how much I needed and how much I was going to cut off.
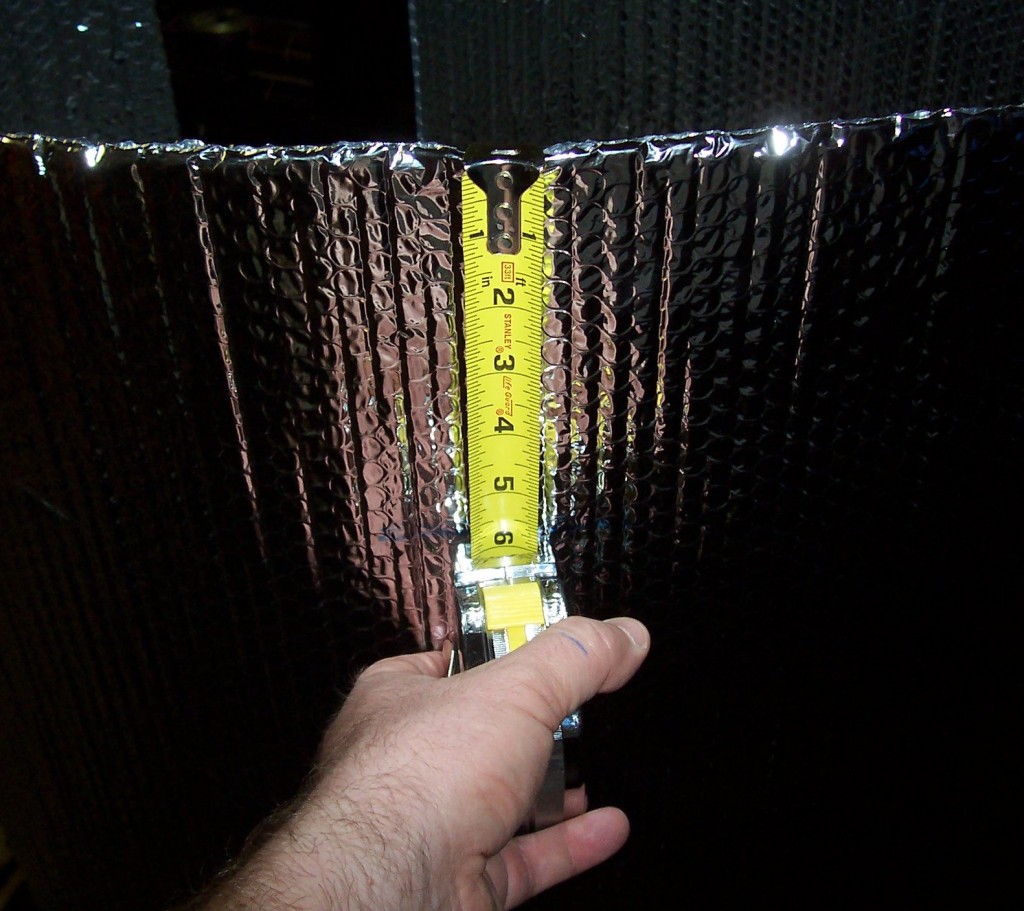
I ended up taking about 6 inches off the top. This is going to depend on how tall your smoker is. Really, you could probably leave the height alone and cut it later if you feel you need to.
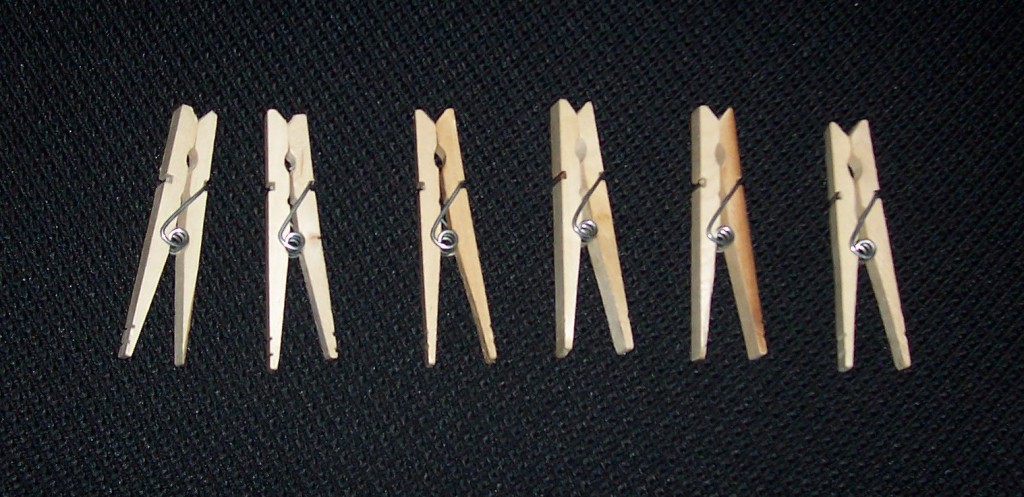
I figured I’d use wooden clothespins to hold the top together. That way it’s still pretty easy to move the Reflectix around and gives you some extra flexibility.
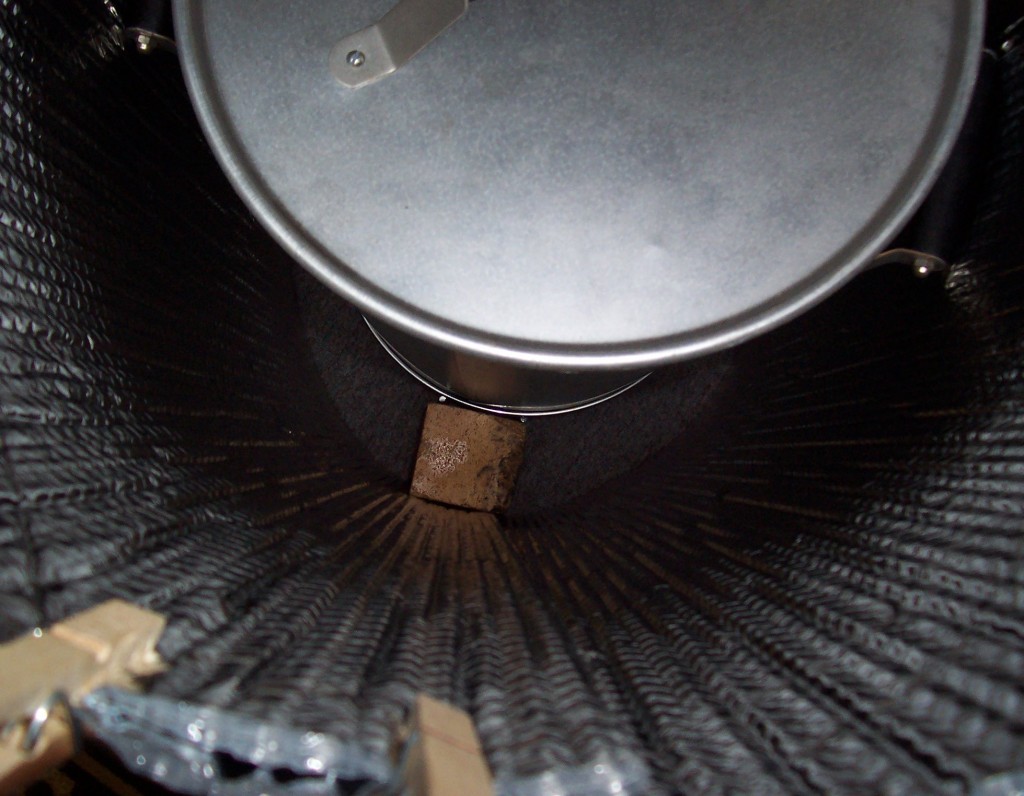
You have to be careful, the top temperature range of Reflectix is 180 degrees F. You don’t want it touching the hot metal of your smoker. I looked at mine and thought that the handles and thermostat would create a nice air pocket or gap in the insulation. There was one spot in the back where it might have touched, so I stood a fire brick up next to the bottom of my smoker. It worked great!
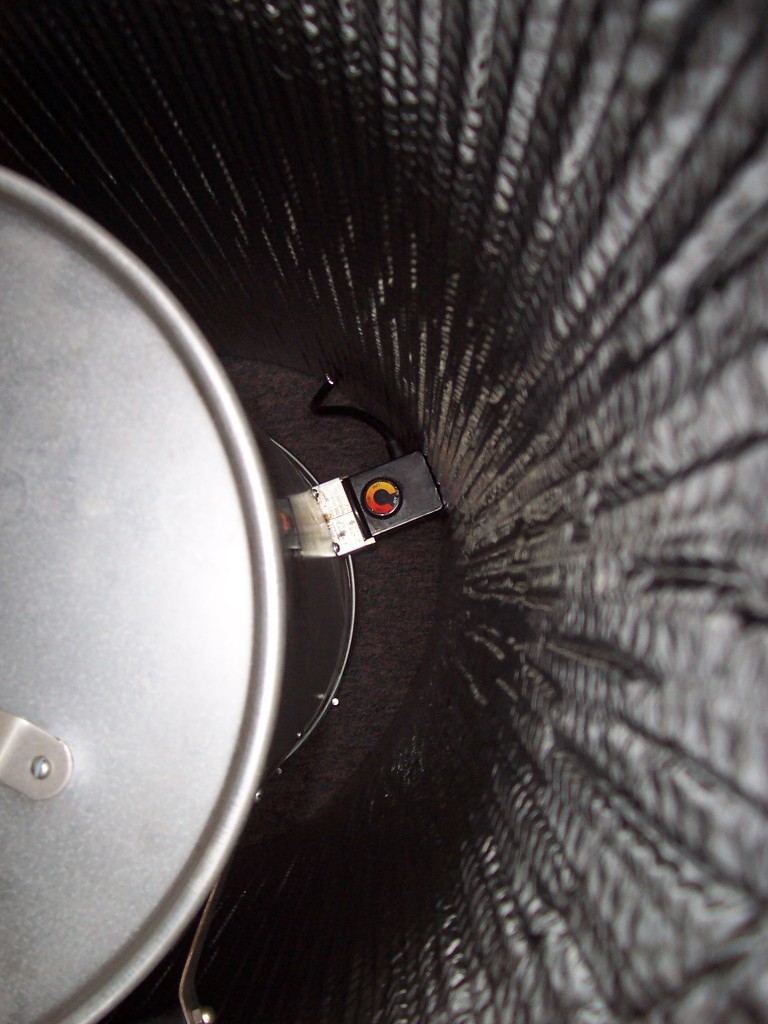
Here is a pic of the thermostat and how the Reflectix insulation rests against it, creating a gap.
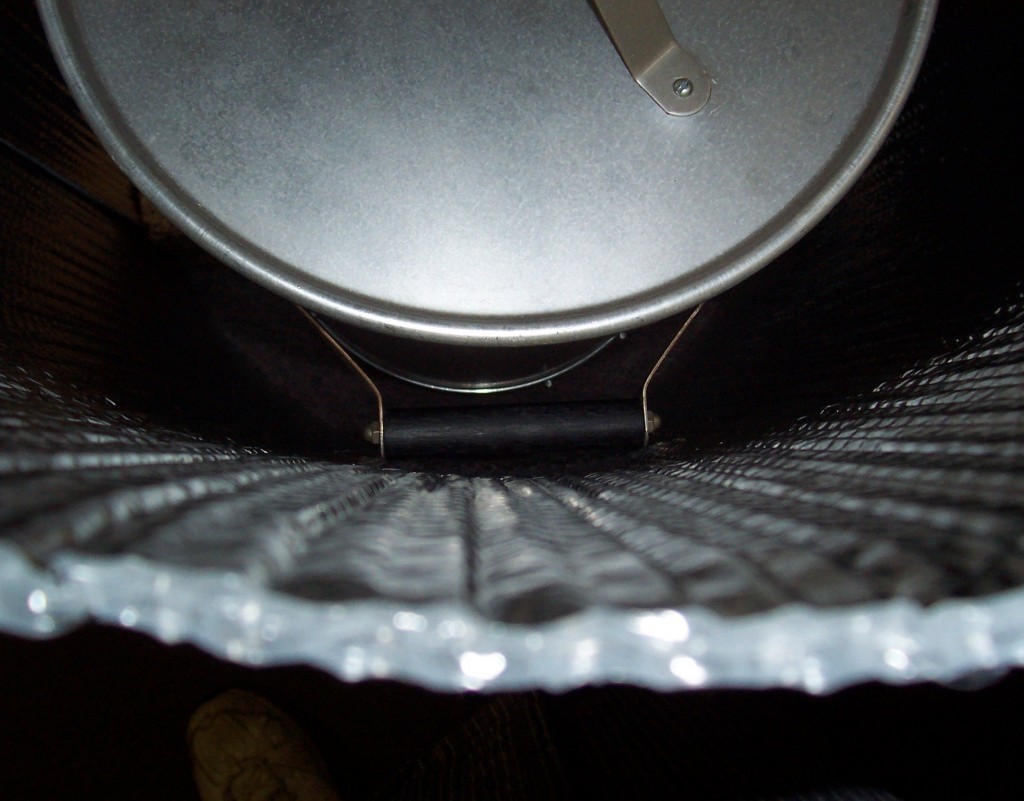
Same thing with the handles. If you are not able to create an air gap around your smoker, you probably don’t want to use Reflectix.
Again, the inslulation will probably melt if it is touching the hot metal.
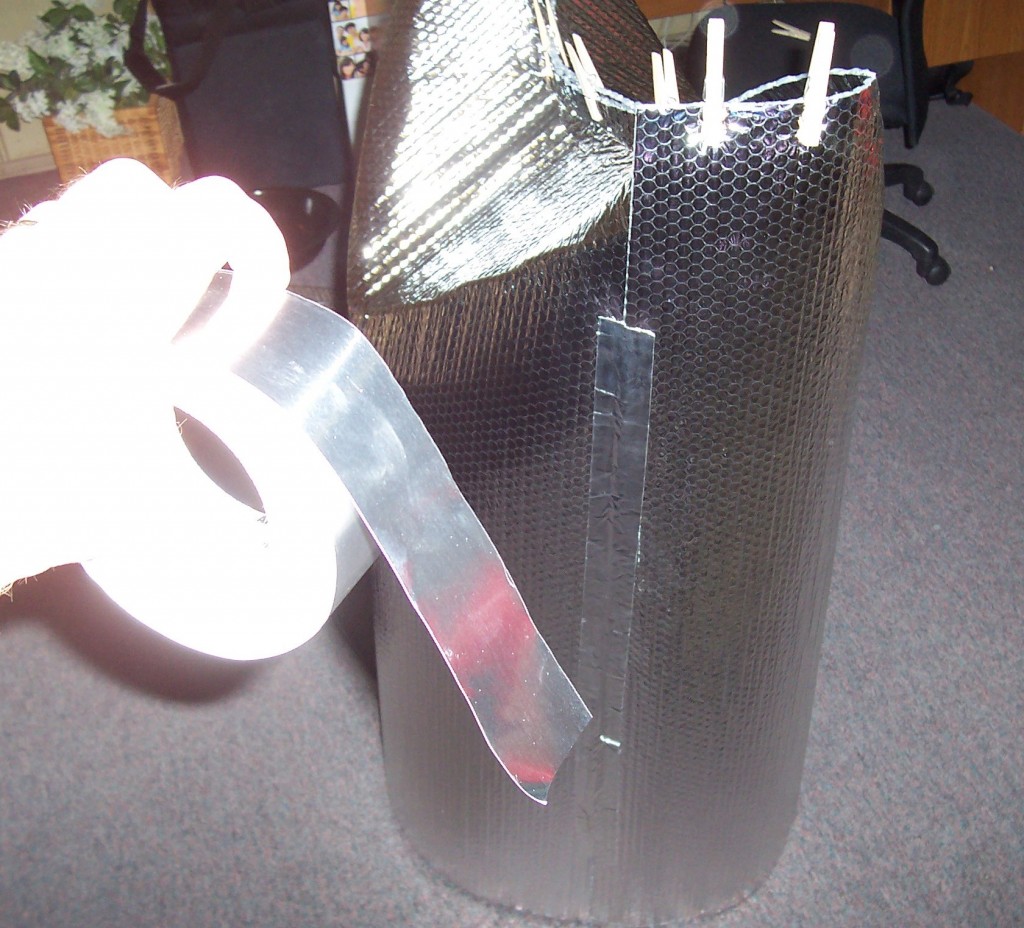
I used a foil tape to cover the side seam. I’d go with this one or this one
depending on how much you want. I wouldn’t recommend using anything for this that you think would melt with heat.
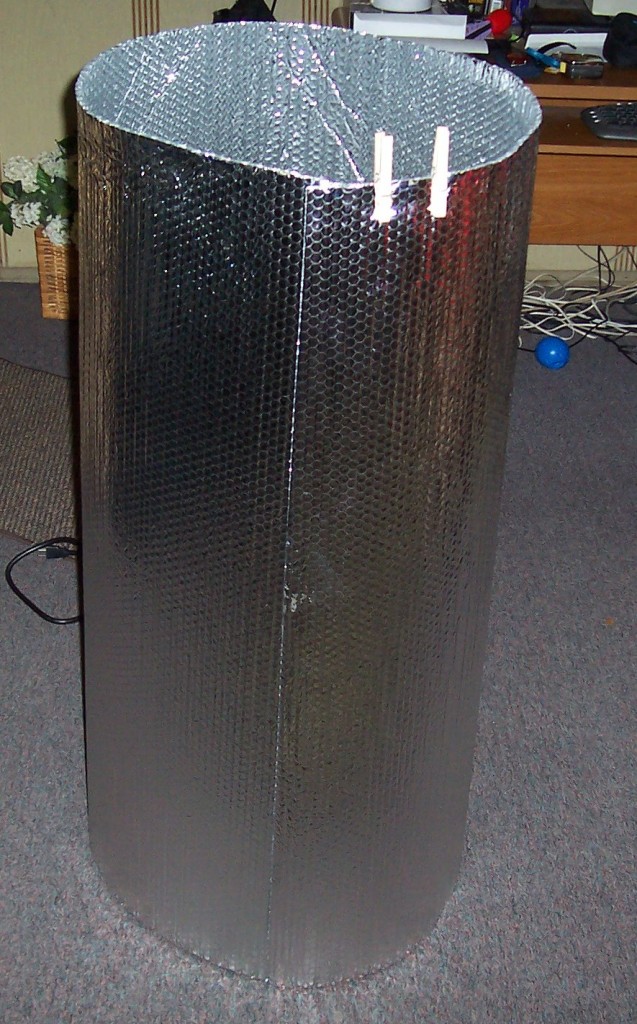
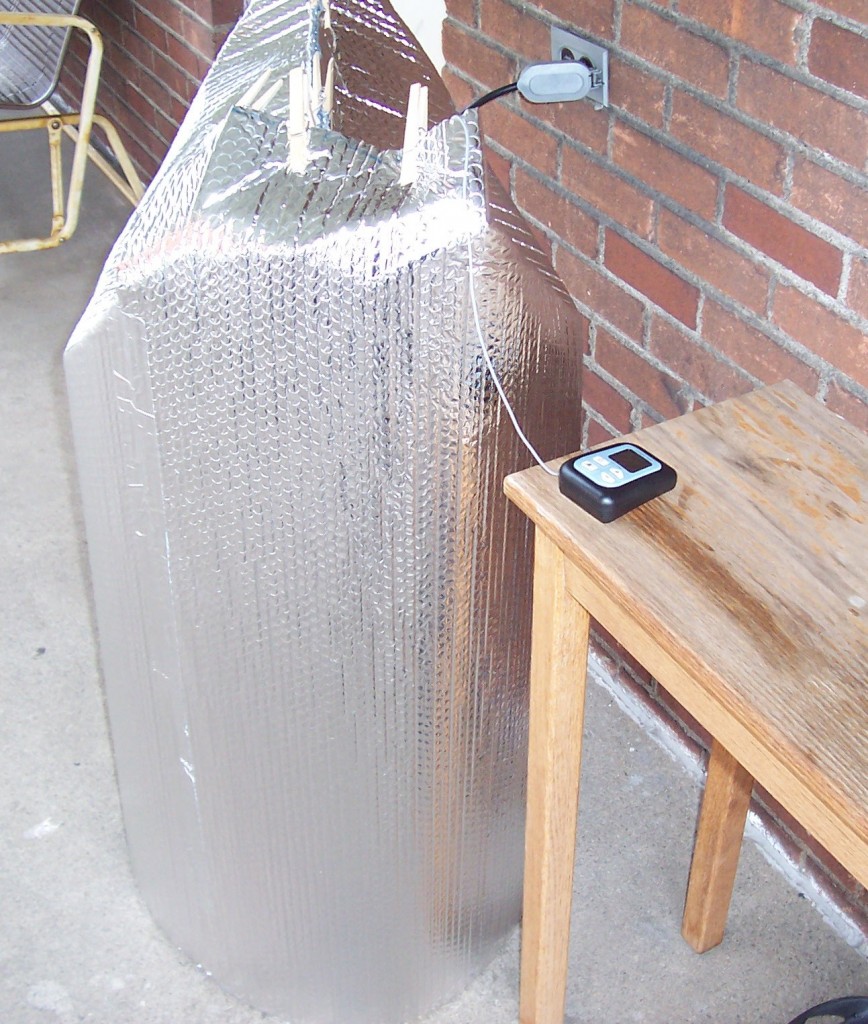
I used more clothespins to close up the top of the roll. I left an opening on either side. I figured it would be a good thing to let a little of the heat out.
I wouldn’t think you would want to completely seal this opening up or anything like that.
Here are some shots outside before I used it.
If you use a digital probe, which I definitely recommend, you want to make sure you leave a space for your wire.
I either have mine come out the top or out the side right above where I taped the seam.
Here is a shot of the top held together with the clothespins.
I think these work well and you want to be able to open the top quickly, if you need to take the lid off, etc.
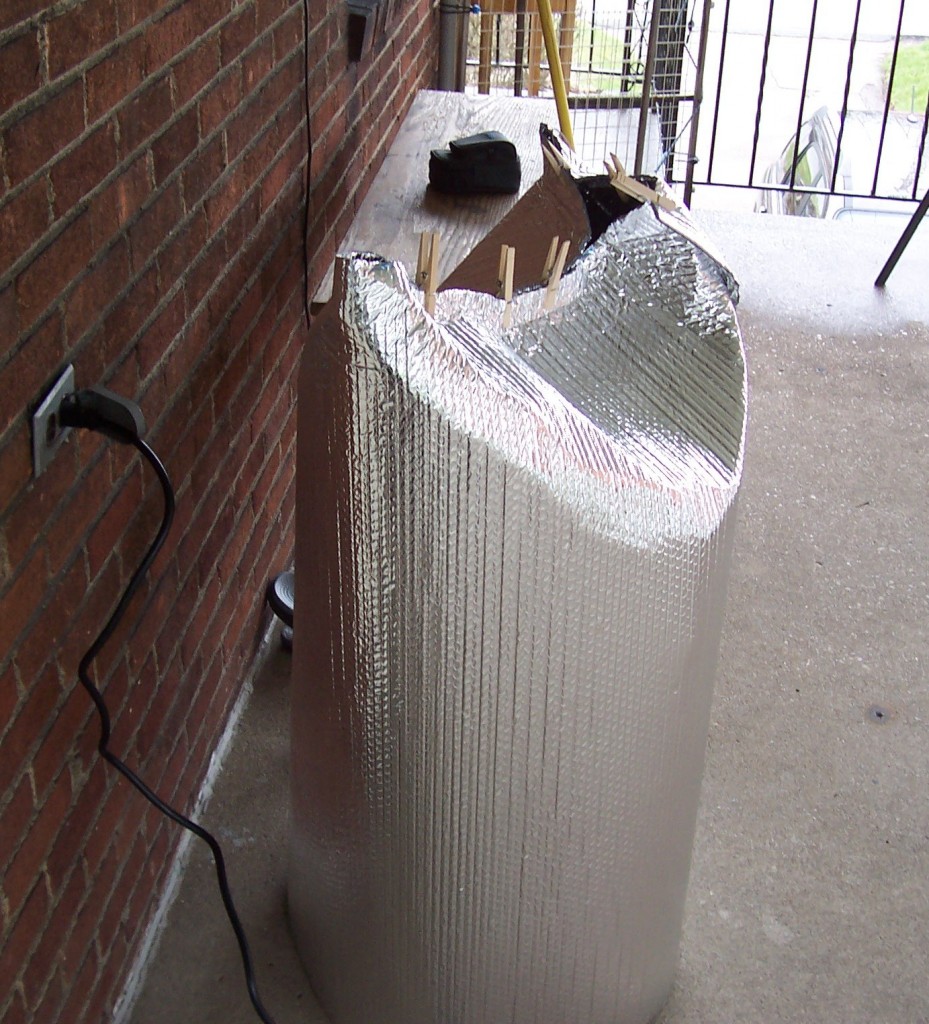
Here is another pic. I don’t think it makes a whole lot of difference how you close the top, just so you are holding most of the heat in.
I think it is easier to open the top and do what you want as opposed to sliding the whole cover off.
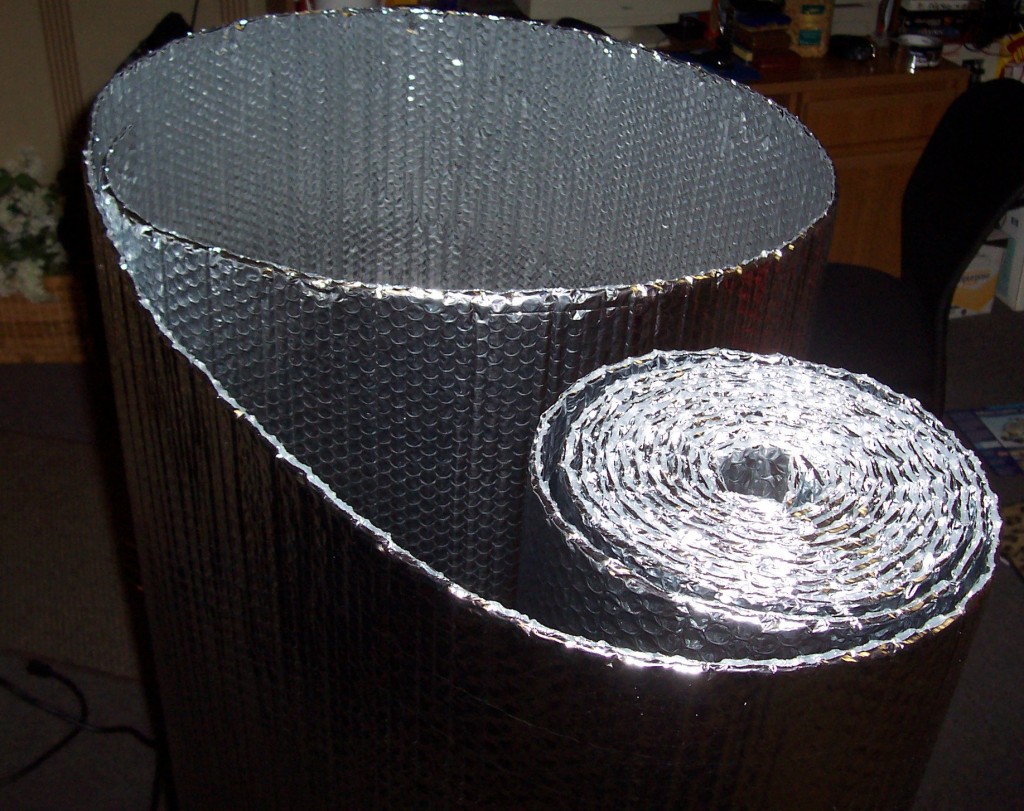
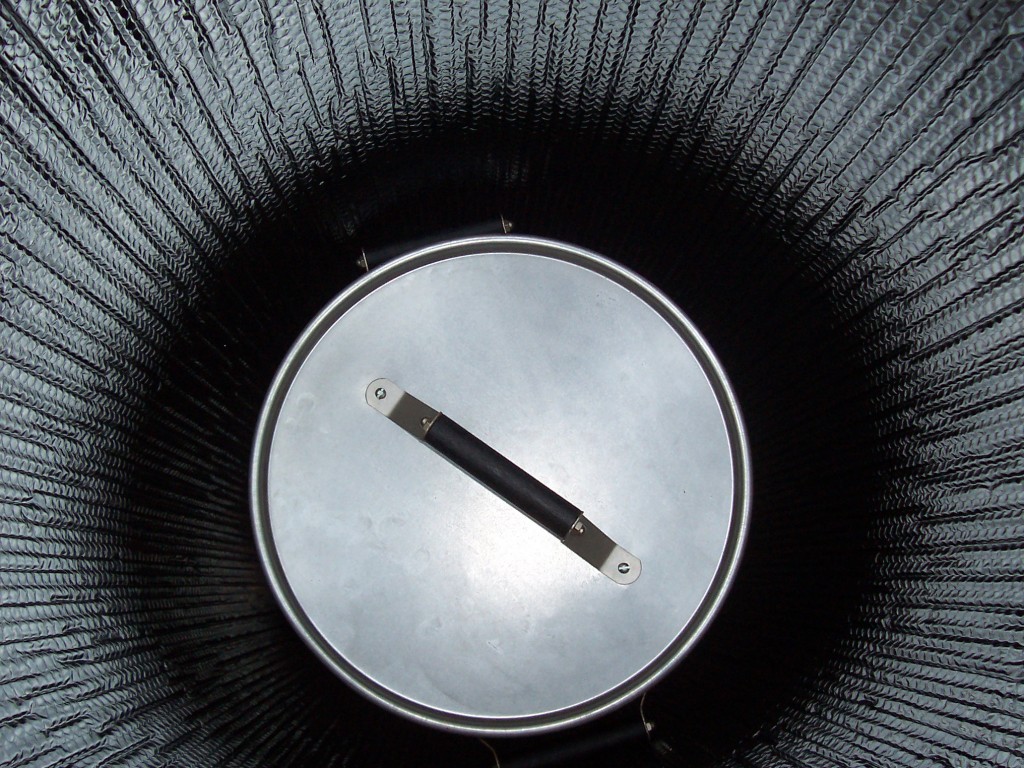
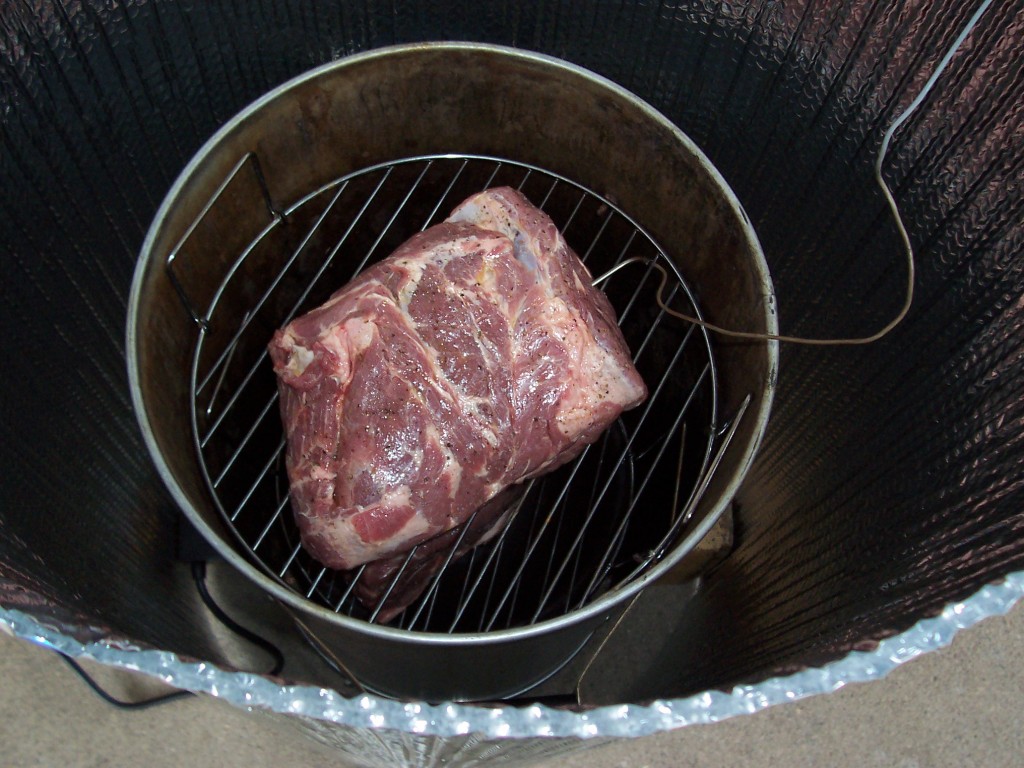
Here is a shot showing the top open and the surrounding Reflectix.
The first time I used this setup, I believe it was in the mid 30’s. I was making pulled pork and I had the heat set to low. I was amazed how well this worked. Without question it worked better than I had even hoped it would. There is no way I would have been able to use it that day without the Reflectix insulation, it was just too cold. I have used it several times since then and it has worked like a champ each time. If you are careful when you slide the cover off and on, I don’t see any reason why it wouldn’t last a long time.
Good Luck!!!
I used a modified version of this with my Bradley electric smoker tonight. I had to add a chimney to mine which I made out of metal, dryer venting tubing. It’s working great! Thanks for the info.
Fantastic!!! Glad you found the info useful and it worked out for you. If there was ever a Winter to insulate your smoker I would think it is this one!!!
Reflectix method worked amazing. Made a box around my masterbuilt by poking a hole and using zip ties around the top to connect. Then I zip tied the hinge side of the door and slit holes on the latch side and wrapped small peices of Velcro to connect there. Finished off the open seams with aluminum tape and also used a dryer vent elbow for the vent. Currently 12 degrees with a real feel of -6, smoker is holding a steady 165 with six racks full of venison jerky 🙂
Wow, sounds like you took the Reflectix insulation to a whole new level!!! Glad it worked out for you and hope your jerky turned out great. You are making me hungry 🙂